VSCode (Visual Studio Code)でリモート環境へssh接続してみる。
関連記事
環境
- macOS Ventura 13.3.1
- Visual Studio Code
- Red Hat Enterprise Linux 9.4
VSCodeでリモート環境へssh接続する
今回AWSの無料枠で作成した、RedHat Linux環境へ接続してみる。
※AWSコンソールでの情報の確認方法などは本記事では記載しない。
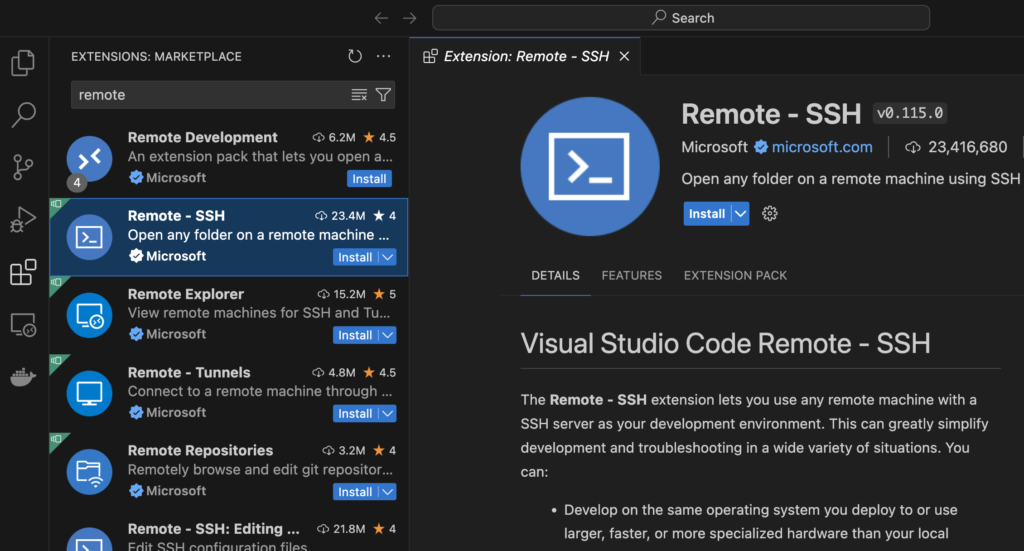
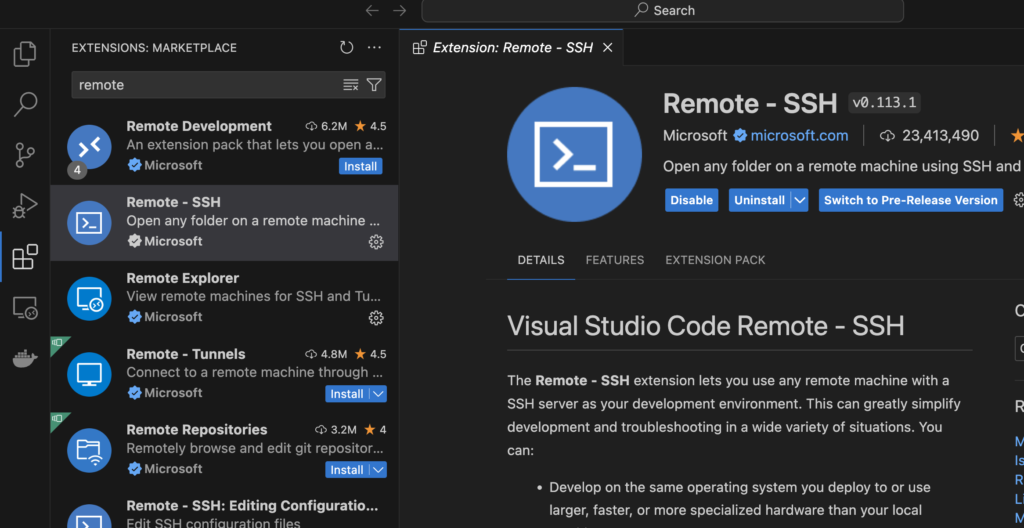
まずはMicrosoftが提供しているssh接続用の拡張をインストールする。
VSCodeのサイドバーのExtentionアイコンをクリックし、「remote」と検索し、「Remtoe -SSH」の「Install」をクリックする。
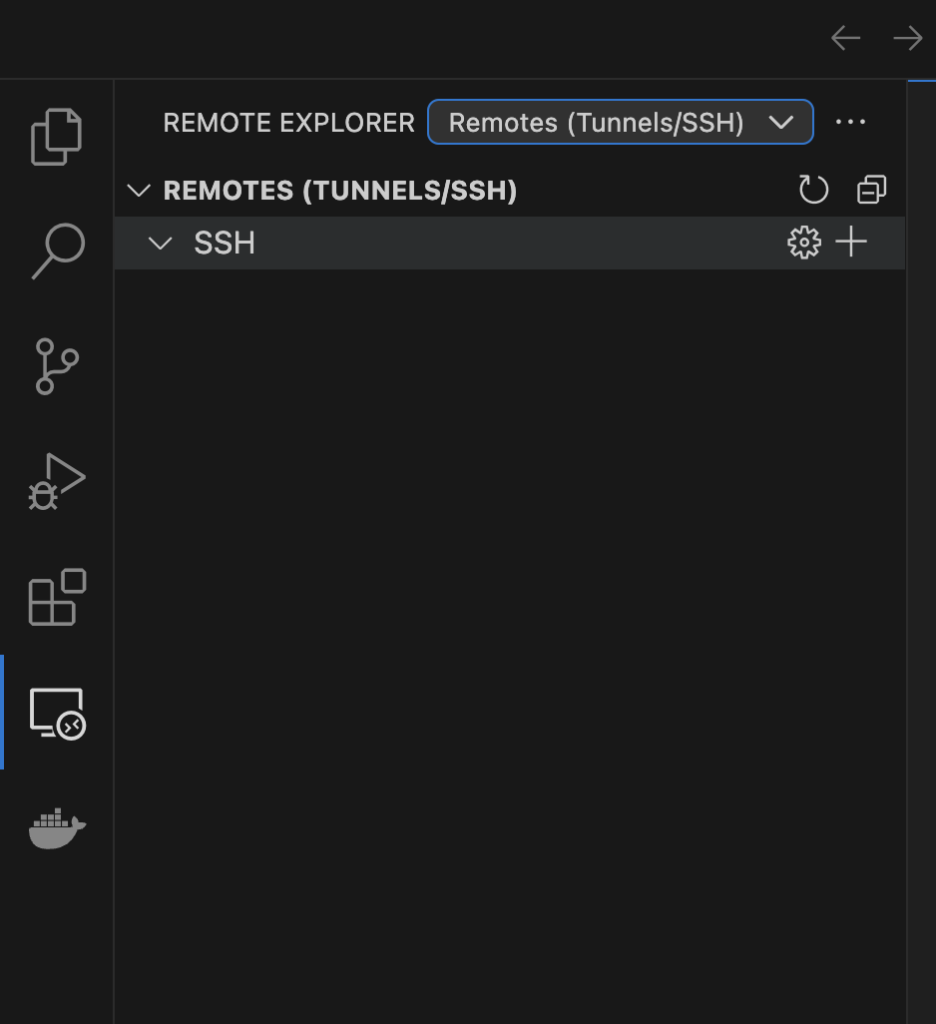
インストールができたら、ssh接続可能となる。
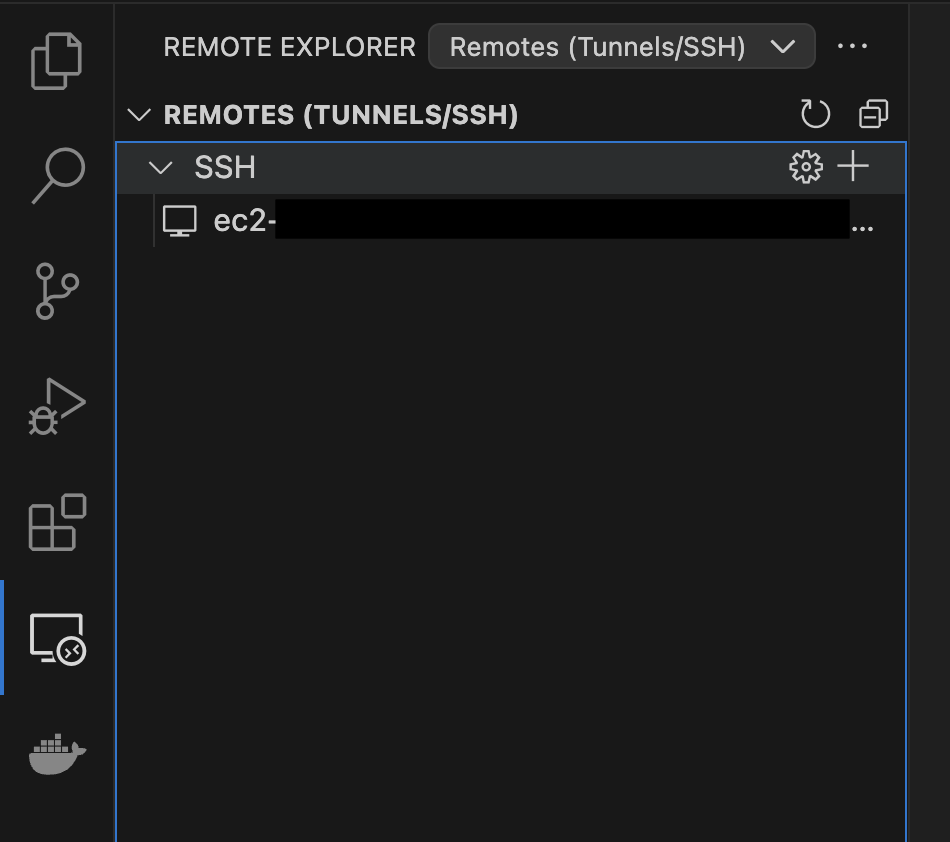
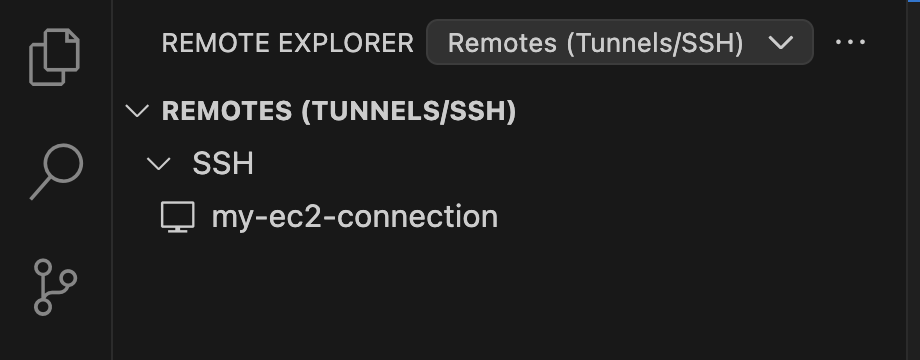
サイドバーの「Remote Explorer」アイコンをクリックして開く。
「SSH」と表示されている右にある「+(プラス)」をクリックする。
上部に「Enter SSH Connection Command」と出てくるので、実際に接続できるsshコマンドを入力する。
ssh -i <pemファイルのファイルパス> <ユーザー名>@<ホスト名>
※今回はEC2環境でpemファイルを利用するが、オプションがなくても接続できる環境の場合は下記でよい。
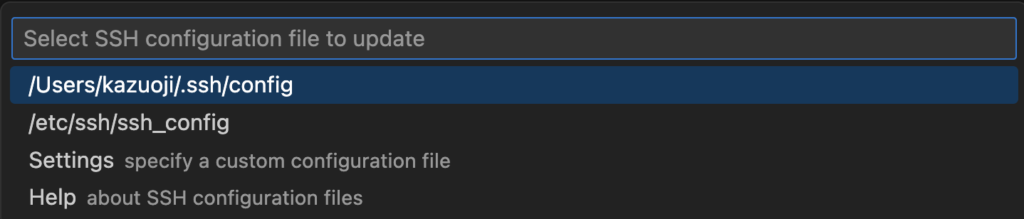
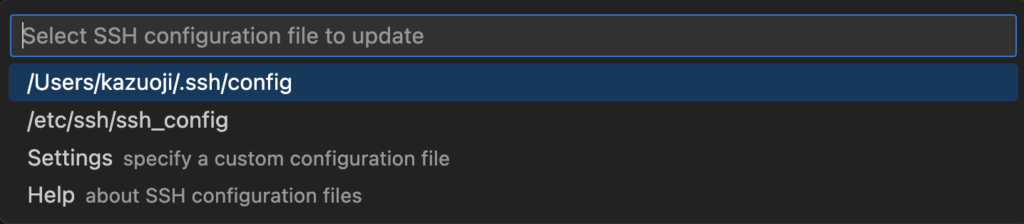
ssh <ユーザー名>@<ホスト名>「Select SSH configuration file to update」と出てくるので特にこだわりなければ一番上を選択する。
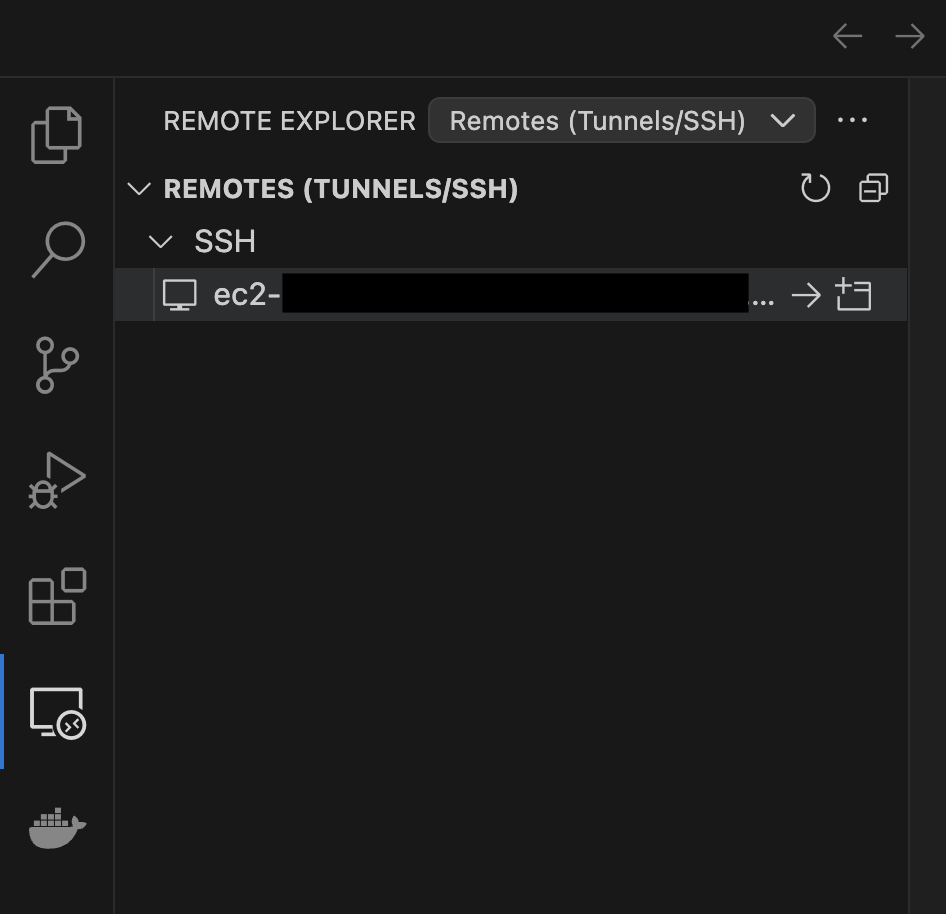
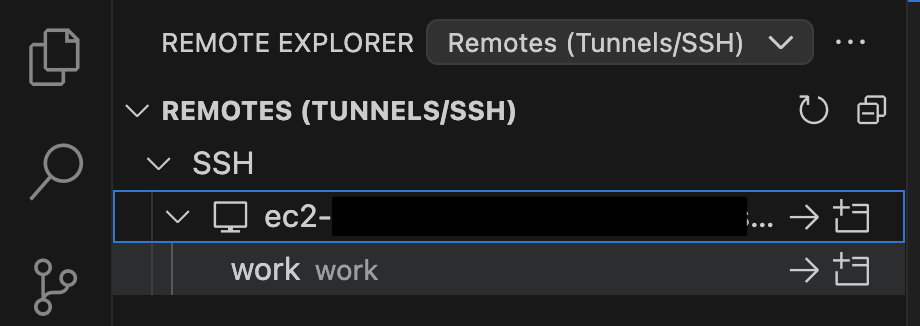
「REMOTES (TUNNELS/SSH)」の右にある更新ボタンをクリックすると、「SSH」の下に設定したリモート接続が現れる。右にあるアイコンどちらかをクリックする。
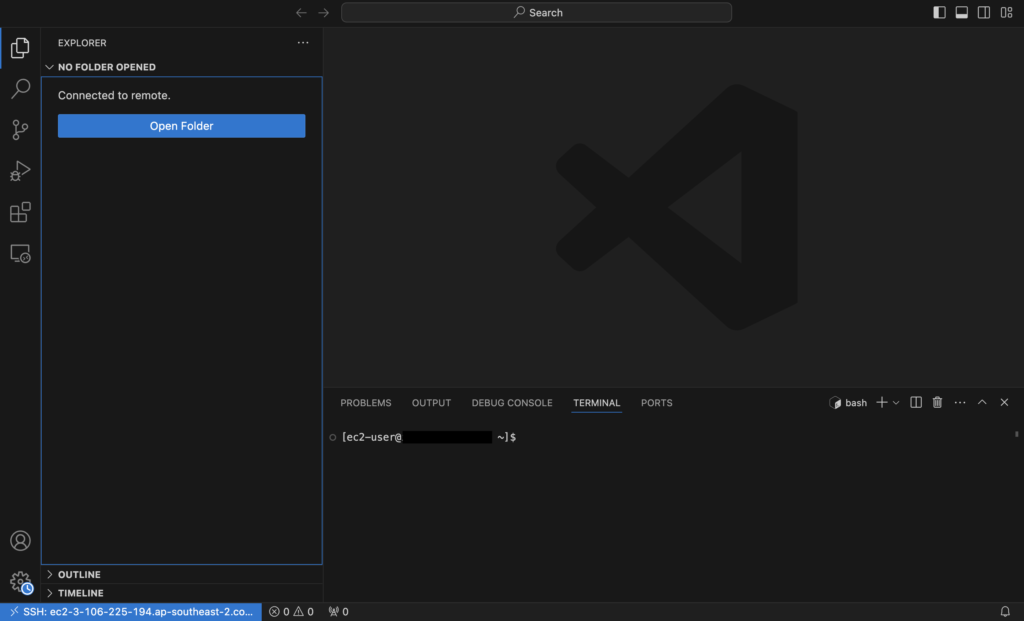
接続が成功する下記のような画面となる。
リモート環境上の作業フォルダを開く
「Open Folder」をクリックし、特定のフォルダをVSCode上で開いてみる。
開きたいディレクトリのパスを入力、もしくは選択し、「OK」をクリックする。

開くと下記のように指定したディレクトリがVSCode上のWorkスペースとなる。
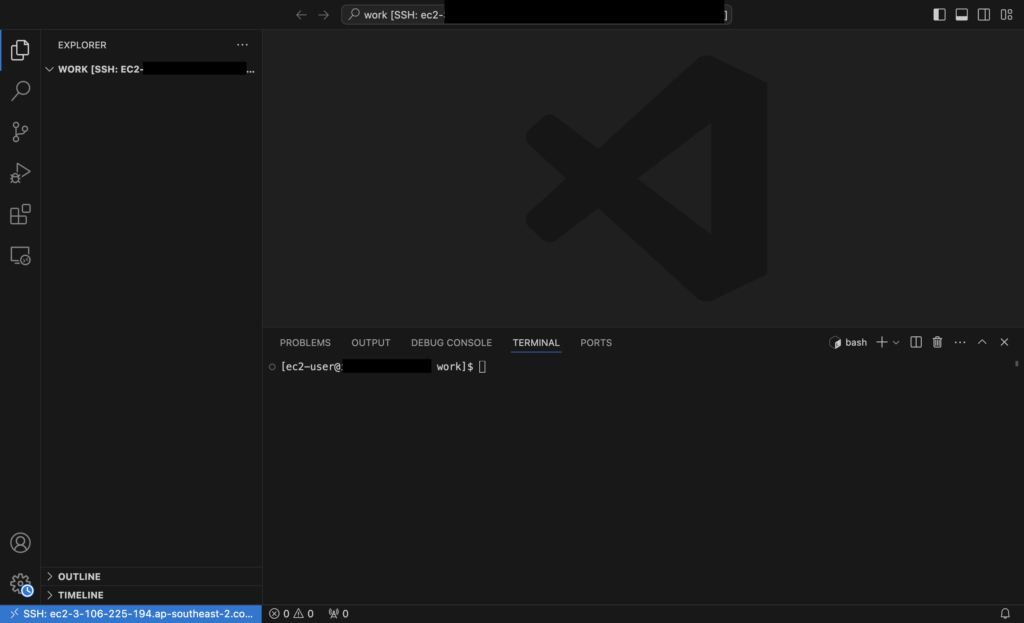
ローカルでの操作と同じようにファイルやフォルダの作成やTerminalでの操作が可能。
次回以降同じフォルダを開きたい際は「SSH」の一覧にフォルダ名が表示されるのでそちらを開けば良い。
リモート接続情報の確認・編集・削除
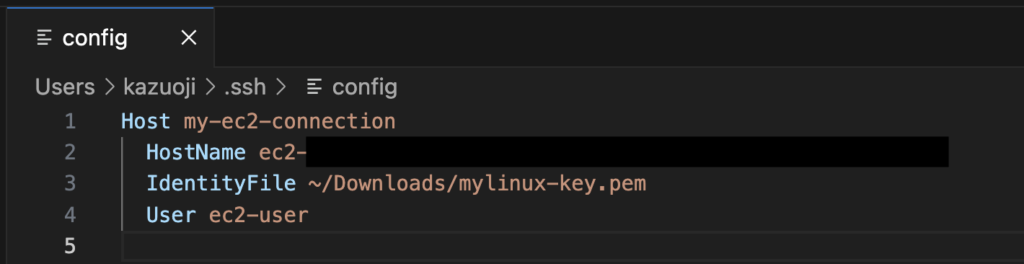
リモート接続情報の確認・編集・削除をしたい場合、「SSH」の右にある設定(歯車)アイコンをクリックする。
「Select SSH configuration file to update」と出てくるので設定時に選択したファイルをクリックする。
ファイルが開き、yaml形式での設定情報を確認することができる。
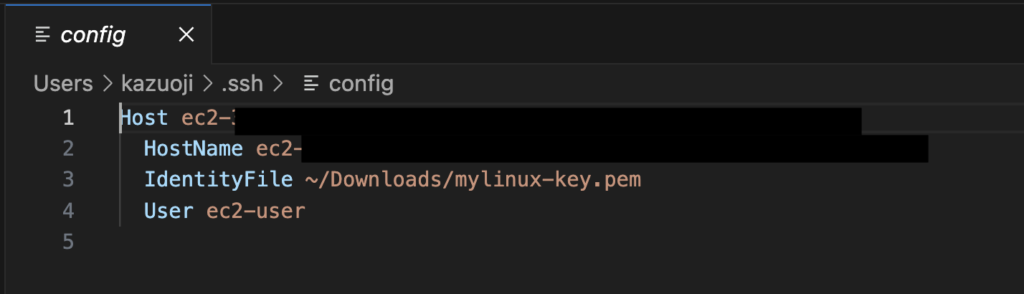
各項目については下記の通り。
| 項目 | 内容 |
| Host | 接続名(表示名) |
| HostName | リモート環境のホスト名 |
| IdentityFile | pemなどの秘密鍵のファイルパス |
| User | リモート接続時のログインユーザー名 |
このファイルを編集・保存することで、接続情報を編集することができる。
例)Host(接続名)の変更
「Host」は任意の名前で変更でき、「SSH」の一覧の表示名を変更することができる。
以上。